FYI, the Rockspace range extender login page will assist you to get access to the settings wizard in which you can perform Rockspace Wi-Fi extender setup process, modify and manage any feature related to it (your extender) hassle-free.
However, getting the access extender login page will require you to meet certain Rockspace extender requirements beforehand. If you are looking for detailed information about how to access Rockspace range extender login page then you have come to the right place. In this post, you will get the complete instructions following which you can do Rockspace extender login from the comfort of your home. Moreover, you are going to learn about different types of things that you need while accessing the login page.
Requirements for Rockspace Extender Login
First, we would like you to prepare some important requirements that you will need while accessing the Rockspace extender login page. By getting ready all the requirements you will remove the chances of issues.
-
Good condition power source
-
Constant and reliable internet
-
Updated internet browser
-
Rockspace extender default web address
-
The extender’s default login details
-
A good-condition Ethernet cable
Thus, these are the requirements that you need to get prepared before performing Rockspace extender login. Now, let’s dig into the process.
Rockspace Extender Login [Complete Process]
Now, in this section, you learn all the steps in detail. All the steps are mentioned correctly. You just need to read and implement them.
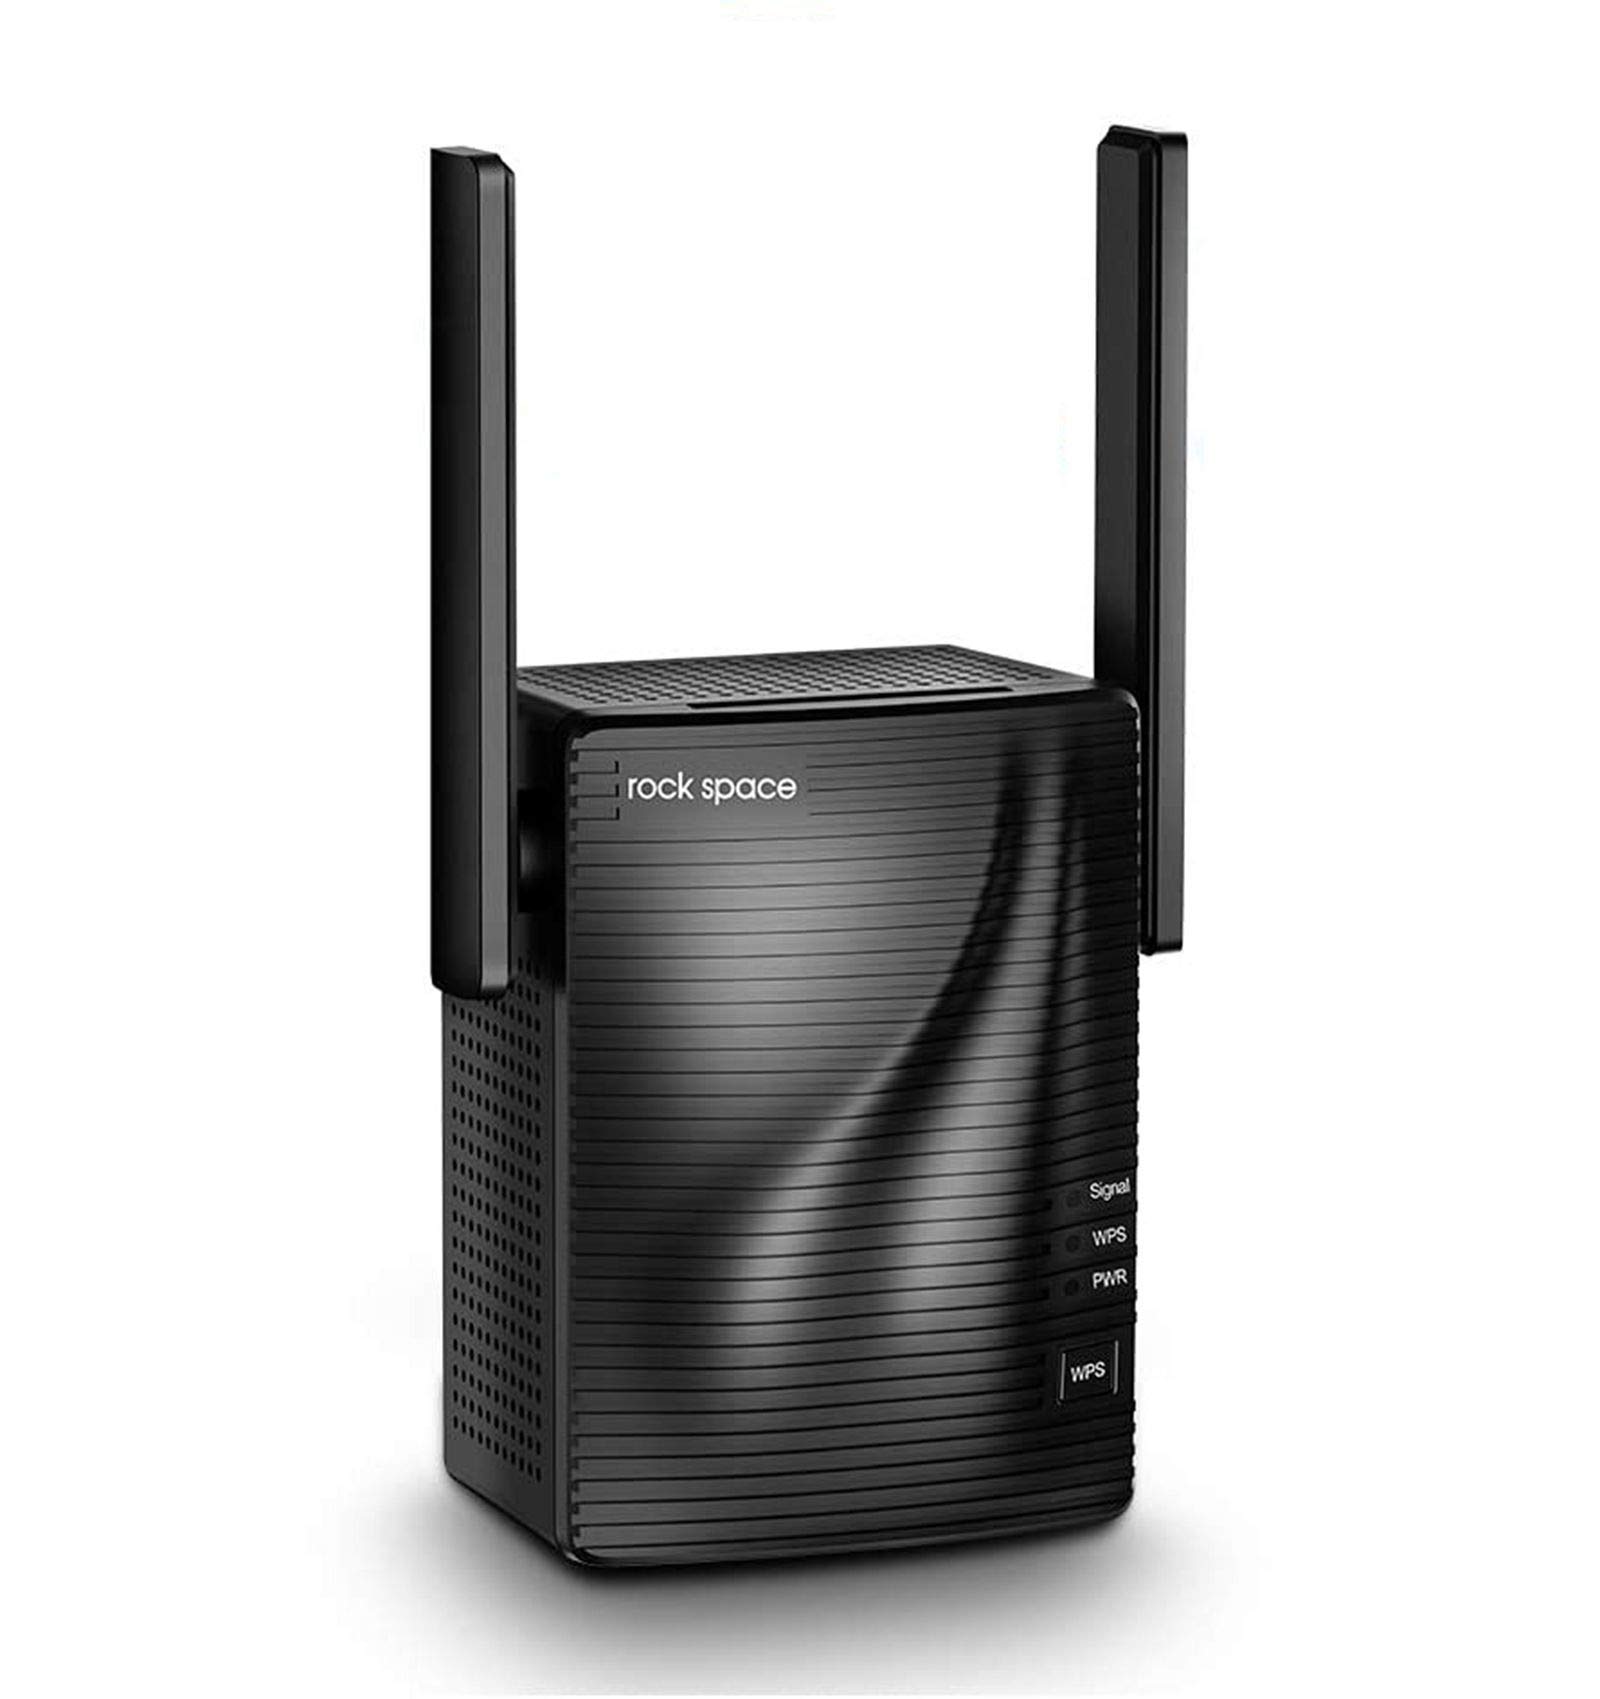
Power on Your Rockspace Extender
The foremost thing you need to do is give fluctuation-free electricity from the power socket. You need to make sure that you use a good conditioned wall outlet. It is seen that users use the damaged socket and face issues. Apart from it, ensure that the power cable of the extender is non-damaged.
Connect Rockspace Extender and Host Router
Now, you need to connect the Rockspace extender and router through the wireless (WPS) connection – or you can also use the Ethernet cable for connecting them. We suggest you use the Ethernet cable if you don’t want any disconnection issues. Also, ensure the Ethernet end is properly inserted into the Ethernet ports of the devices.
Open Web Browser
Once you connect the device you need to switch on the computer for the further process. Once you open the computer, launch the web browser on the device. Ensure your internet browser should be running on the latest version.
Access the Default Web Address
Now, enter re.rockspace.local (extender’s default web address) in the URL bar.
Do not make the typing mistake because you might not be able to access the extender Rockspace WiFi extender login page then. Once you input the default web address you need to press the Enter key.
Enter Default Credentials
While inputting the default username and password – we suggest you avoid using the shift or the caps lock key of your keyboard. The reason is, the Rockspace extender login details are case-sensitive. However, in case you do not remember your default credentials, then you can refer to the user manual.
Log In to the Rockspace Extender
Once you input the username and password into the fields – you need to click on the Login button. You will see the Rockspace extender setup wizard which means you access the extender login page successfully.
Hence, these are the steps that you need to perform to access the Rockspace extender login page. Now, you can setup Rockspace whole home WiFi system and change the settings of your extender according to your convenience.
Conclusion
Now, you know every step to get access to the Rockspace login page. You just need to implement the aforementioned steps in the exact given order to rack success.